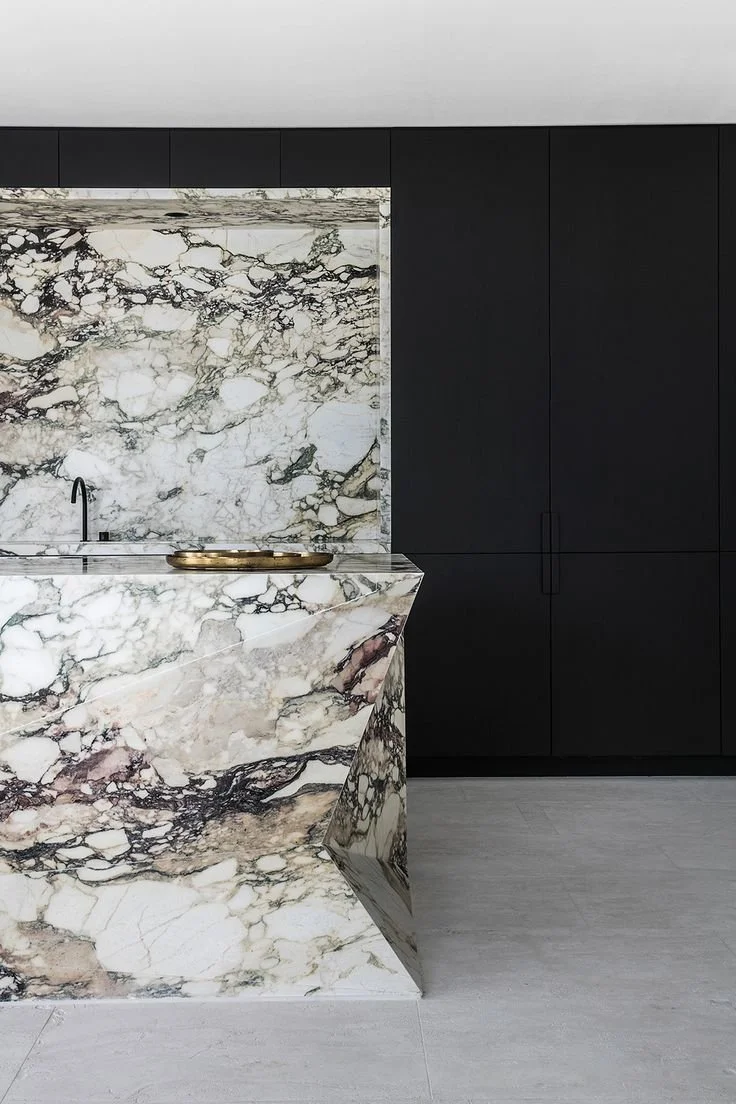
HOW TO SEAL YOUR NATURAL STONE: <BR/>A STEP BY STEP GUIDE
Stone materials like limestone, marble, and sandstone possess a natural porosity that increases their vulnerability to absorbing liquids. This inherent characteristic can result in stains and discolouration, compromising the stone's appearance and longevity. To mitigate these risks, sealing the stone is imperative.
Applying a suitable sealant forms a protective barrier that repels water, oil, and various contaminants. This barrier not only safeguards the stone's integrity but also enhances its durability and maintains its visual appeal over time. Regular maintenance and resealing, as necessary, will ensure that the stone continues to look its best while resisting the effects of wear and environmental factors.
Natural stone requires resealing every 1 to 3 years to uphold its aesthetic appeal and protect it from stains and damage. However, the frequency of resealing can vary based on several factors, including the type of stone, the level of use, and the specific sealer applied.
High-traffic areas or stones with more porous surfaces may necessitate more frequent resealing. On the other hand, denser stones may require less attention. Regular cleaning, combined with appropriate resealing, is essential to extending the lifespan of natural stone surfaces, ensuring they remain visually appealing and functional over time.
Choosing the right sealant is crucial. We recommend Lithofin Stain Stop, a matt, impregnating sealer that fully penetrates the stone to offer protection without altering the natural look of your stone.
Step 1: Clean the SurfaceBegin by thoroughly cleaning the natural stone surface. Use a mild, pH-balanced stone cleaner and a soft cloth to remove dust, dirt, and any existing stains. Ensure that the surface is completely dry before proceeding.
Step 2: Choose the Right SealerSelect a high-quality sealer specifically designed for natural stone. There are two main types of sealers: topical sealers, which create a surface barrier, and penetrating sealers, which soak into the stone to provide internal protection. Consider the type of stone and its porosity when making your selection.
Step 3: Test the SealerBefore applying the sealer to the entire surface, test it on a small, inconspicuous area. This will help you determine how the stone reacts and ensure that the finish is to your liking.
Step 4: Apply the SealerUsing a clean, absorbent cloth or a paint roller, apply the sealer evenly across the surface. Follow the manufacturer’s instructions regarding the application method, and ensure that the coat is uniform.
Step 5: Allow to SetOnce applied, allow the sealer to penetrate the stone for the recommended amount of time. This usually ranges from 5 to 15 minutes, depending on the product. Avoid any foot traffic during this period to ensure effectiveness.
Step 6: Wipe Off ExcessAfter the sealer has set, use a clean, dry cloth to wipe away any excess that may not have soaked in. This step is crucial to avoid creating a tacky surface.
Step 7: CureLet the sealer cure in accordance with the product guidelines. Typically, this can take up to 24 hours before the stone can withstand moisture and use.
Step 8: MaintenanceTo maintain the sealed surface, regularly clean it with a pH-neutral cleaner and reapply the sealer as needed, which is often every 6 to 12 months, depending on usage and exposure to stains.
By following these steps, you can confidently seal your natural stone and enjoy its lasting beauty and resilience in your space.


